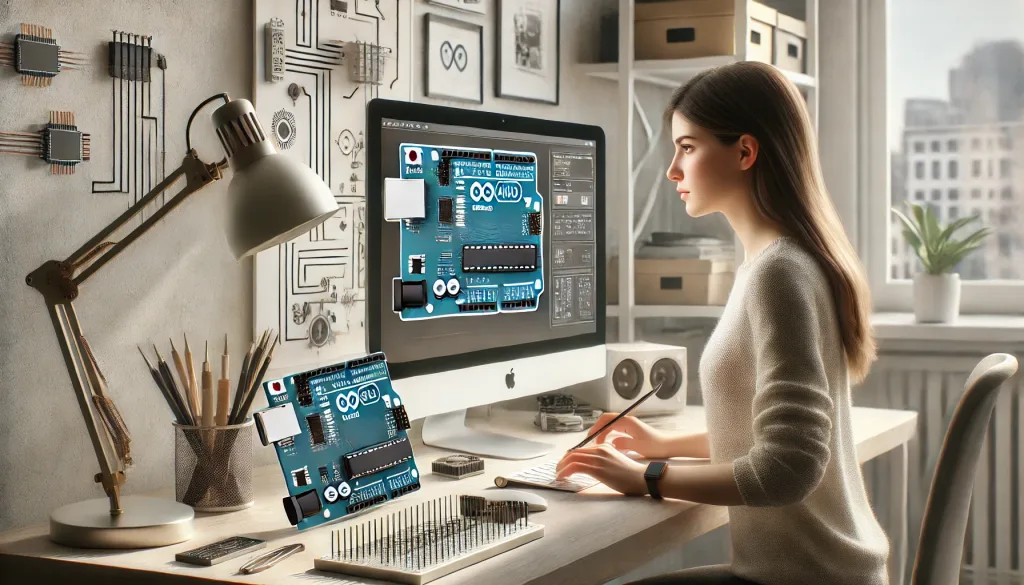
How to Set Up Emulators for Arduino on Mac

Setting up emulators for Arduino on a Mac can greatly enhance the flexibility and functionality of your projects, whether you are a hobbyist or a professional developer. This guide offers a step-by-step process to get you started, focusing on compatibility, tools, and essential configurations. With detailed instructions and practical recommendations, you’ll be able to streamline your Arduino development process effectively.
1. Required Tools and Software
To successfully set up emulators for Arduino on your Mac, you’ll need specific software tools and hardware components. Preparing adequately beforehand ensures a smooth setup process and reduces the likelihood of technical issues later. Gathering the necessary resources also allows you to focus on the creative aspects of Arduino programming.
Hardware is a critical aspect of your setup. Ensure your Arduino board is in good working condition and compatible with the emulator or simulator you intend to use. Similarly, the USB cable must support both power supply and data transfer, as low-quality cables may cause interruptions.
1.1 Essential Tools
– An Arduino board (e.g., Uno, Mega, or Nano).
– USB cable compatible with your Arduino board.
– Mac computer running macOS 12.0 (Monterey) or later.
– Arduino IDE (available on the Arduino website).
– An emulator, such as Proteus, or a simulator like Tinkercad for virtual circuit design.
The choice of emulator is important, as different options provide varying features and compatibility levels. Proteus is ideal for advanced users who need in-depth emulation capabilities, while Tinkercad offers a beginner-friendly interface for quick prototyping and testing.
2. Installing Arduino IDE and Emulator
Once you’ve gathered your tools, the next step involves installing the necessary software. Proper installation and configuration of the Arduino IDE and emulator are essential for seamless development and debugging. Follow these detailed steps to ensure everything is set up correctly.
The Arduino IDE serves as your main platform for writing and uploading code to the board. It is equipped with features like syntax highlighting, debugging, and library management, making it indispensable for Arduino developers. Make sure to download the version compatible with your macOS to avoid potential issues during installation.
2.1 Installing Arduino IDE
1. Visit the official Arduino website.
2. Download the macOS version of the IDE and follow the installation prompts.
3. After installation, launch the Arduino IDE to ensure it runs smoothly.
After setting up the IDE, you can begin experimenting with basic sketches or integrating libraries required for specific projects. The IDE’s user-friendly interface ensures that even beginners can start coding with minimal effort.
2.2 Installing an Emulator
Proteus, a widely used emulator, can be downloaded and set up as follows:
1. Purchase a license for Proteus from its official site to avoid piracy issues.
2. Download the macOS version and follow the installation guide.
3. Once installed, configure the emulator by importing Arduino libraries.
Alternatively, use Tinkercad for free online simulations. Simply create an account on Tinkercad, and access its circuit simulator tools. This option is particularly useful for users who need a lightweight, web-based solution for Arduino projects.
Once the emulator is installed, spend time familiarising yourself with its interface and functionalities. Proteus users, for example, can explore advanced simulation options, while Tinkercad users can leverage its drag-and-drop design tools for quick circuit prototyping.

3. Configuring the Environment
After installing the necessary software, configuring your development environment is crucial to ensure seamless functionality. The configuration process involves connecting your Arduino board, setting up the emulator, and performing initial tests to verify everything works as intended. A well-configured environment saves time during development and ensures smoother troubleshooting.
When connecting the Arduino board, ensure that your Mac recognises it without issues. macOS often requires additional permissions for USB connections, so be prepared to grant them when prompted. Properly configuring the IDE settings for your specific board model also prevents compatibility errors during code uploads.
3.1 Connecting the Arduino Board
1. Connect the Arduino board to your Mac via the USB cable.
2. Open Arduino IDE and navigate to Tools > Port to select the correct port for your board.
3. Verify the board settings under Tools > Board.
To ensure a stable connection, avoid using USB hubs or low-quality cables. Directly connecting your Arduino board to the Mac reduces the chances of connectivity issues, especially during lengthy coding sessions or while uploading large sketches.
3.2 Testing the Emulator
1. Load a sample Arduino sketch, such as “Blink,” to test your setup.
2. Simulate the code within the emulator to observe the virtual response.
3. Debug any issues by checking the output logs in the emulator or IDE.
Testing the emulator is a vital step in the setup process. By running a sample sketch, you can identify any configuration issues and resolve them before proceeding with more complex projects. Regularly updating your emulator software also ensures compatibility with the latest Arduino IDE versions.
With the environment configured, you can now develop, test, and iterate on your Arduino projects using a Mac, without relying entirely on physical hardware. This setup offers flexibility, allowing you to focus on creativity and innovation while minimising hardware dependency.
